
nikkytok - Fotolia
How to upgrade from VCSA 6.5 to 6.7 -- both online and off
Use the online VCSA management interface, VAMI, or an ISO file from VMware to get started with your online or offline VCSA upgrade.

Several vSphere releases have moved VMware along a transition from a Windows-based vCenter Server to vCenter Server Appliance, which VMware based on its Linux Photon platform. This means customers must migrate their Windows-based vCenter deployments to Linux.
The next major release of vSphere no longer supports a Windows-based vCenter Server at all because VMware's aim is to maintain independence from other vendors and systems in order to make it easier to patch security breaches and threads. By migrating to vCenter Server Appliance (VCSA), VMware owns the whole stack -- including the base OS -- and no longer relies on a third-party for patches and repairs.
With this migration to a Linux-based OS, some VMware clients fear they must acquire Linux competencies, as maintenance, upgrade and patching tasks differ between Linux and Windows platforms. However, VMware hopes to make the transition easy by ensuring you can perform maintenance tasks through a simple user interface.
Preparing for a VCSA update
If your VCSA has internet access, you can update with just few clicks, although you must take a few precautions before initiating this operation. If your VCSA is isolated -- this can be an environment without internet access, such as a highly secured banking, military or government environment -- then your upgrade process might be more involved.
In the past, you could deploy vCenter Server and Platform Service Controller (PSC) either as separate VMs or together on a single VM. PSC runs several core services of the vSphere infrastructure such as certificates, licensing and directory services. VMware now uses a single VM deployment model for both vCenter and PSC. If your environment houses vCenter and PSC on separate VMs, ensure you check with VMware about how your upgrade steps might differ.
First, however, create a backup of the VM that houses vCenter and PSC if you have backup software that supports vCenter backups. If not, create a VM snapshot of your VCSA VM.
Upgrade VCSA 6.5 to 6.7 via the internet
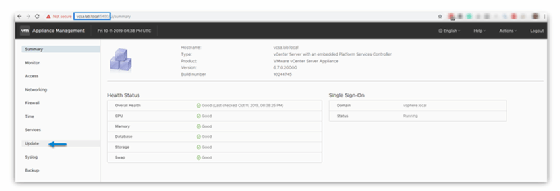
You can access the management interface of VCSA -- called vCenter Server Appliance Management Interface, or VAMI -- through port 5480, making the default access https://ip_of_vcsa:5480.
To start, open VAMI on port 5480.

In the Update tab, click Settings.
Click the blue button on the right called Check updates. This triggers an internet check of the automatically configured remote repository and pulls the different patches you require. You can simply select the latest patch; security patches are always cumulative, which means that the most recent patch also contains all previous patches.
Click the Stage and Install button to start an assistant.

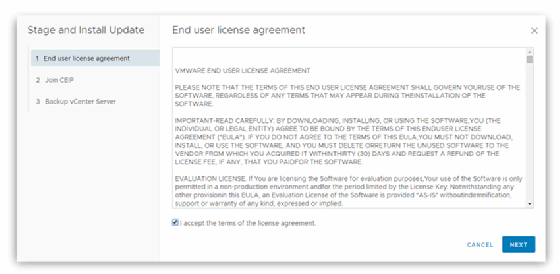
The assistant opens an overlay window where you must accept the end-user license agreement.
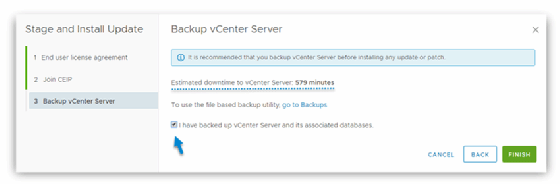
Next, you can join VMware's optional Customer Experience Improvement Program. After that, the system asks whether you've backed up your VCSA VM. If you have not, the wizard does not let you continue with installation. Once you check that box, you can see the estimated downtime. Click Finish to begin the installation.
After that, wait for the patches to install. The system should reboot the VCSA VM automatically once it completes the installation.
Update an isolated VCSA with a patch file
For highly secure environments in which VCSA cannot access the internet, you can download a patch file from another computer and then copy that to a removable USB drive for installation.
To start, download your VCSA patch. You must have a VMware online account to access the download. If you use an external PSC, ensure you download patches for both your PSC and VCSA.
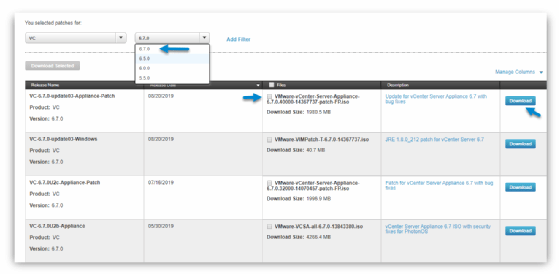
This patch appears as an ISO file.
Connect to your vCenter Server -- or ESXi -- and click through the following: Select your VCSA VM > Edit Settings > Connect this ISO to the VM.
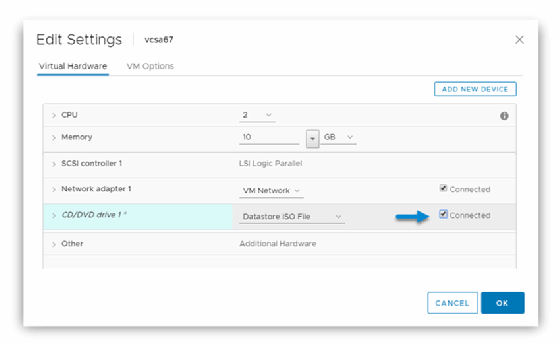
You might need to upload this ISO file to a data store visible by your ESXi host first. Once complete, click the drop-down button and select Check CD ROM.
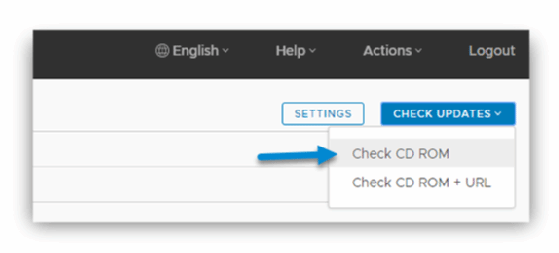
This process launches the same wizard you use to upgrade VCSA 6.5 to 6.7 for an internet-connected environment. The steps are identical.
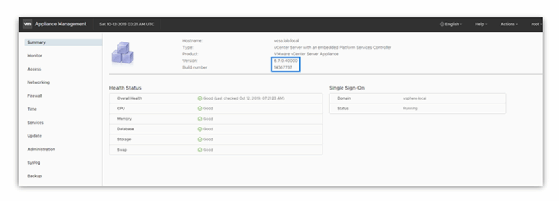
After the update installs, you can verify the build number on the Summary page.
By providing customers with the ability to patch highly secured systems via an offline file, VMware covers most upgrade scenarios.